If you need help installing Shelf Support Pins, don’t fret. It’s simple, and you can get the job done quickly with the proper guidance. This article will explain all the steps necessary, so read on and get ready to install your pins!
How Do Shelf Support Pins Work?
Shelf support pins are essential to any furniture assembly, providing stability and security for your shelves.
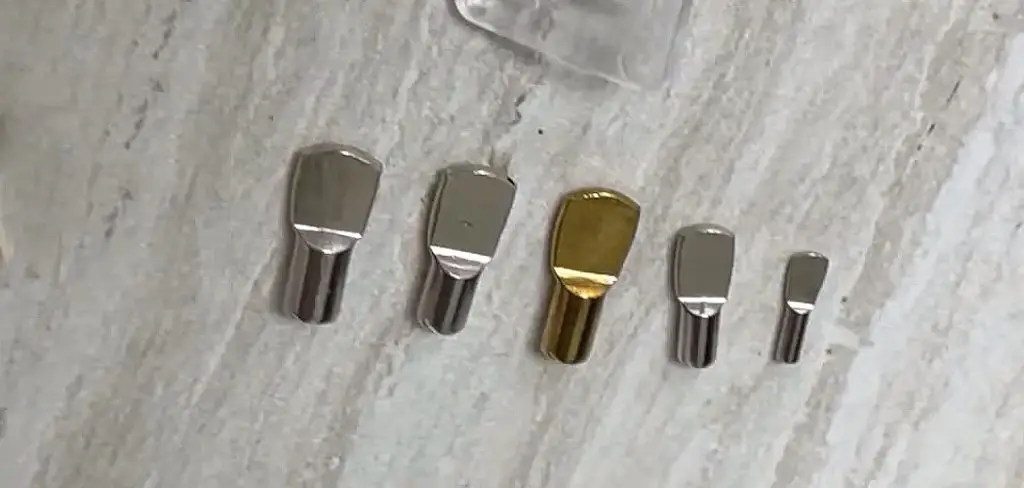
Inserted into pre-drilled holes, they come in various shapes and sizes, allowing you to customize your furniture and make sure your shelves can support the weight of any items placed upon them.
With the proper guidance, installing shelf support pins is an easy task that can help you make the most of your space.
What Are Shelf Support Pins Used for?
Shelf Support Pins have a variety of uses. They are mainly used to secure the wooden, board, or glass shelves. They can also hold shelves in furniture such as bookcases, kitchen cabinets, wardrobes, and closets. Additionally, they can be used with walls in a room to hold the shelf in place.
Step-by-step Easy Guide to Install Shelf Support Pins
Installing shelf support pins can be easy; however, mistakes can easily be made due to incorrect alignment. To ensure the pins are correctly installed, follow this step-by-step guide for proper alignment.
Step 1 – Make a Drilling Jig
First, To create a wooden drilling jig, start by cutting a piece of 3-inch wide plywood to the desired length. Then, drill holes into the plywood, spaced evenly at 2-inch intervals (or as needed). This will help keep the drill holes parallel when drilling.
Step 2 – Place the Drilling Jig & Mark
Position the “Drilling Jig” at each area where holes must be drilled. Mark the location of the Drilling Jig on the furniture so that the pins can be placed in the exact parallel alignment at all four points with ease. Use a leveler to ensure that surfaces are parallel to each other.
Step 3 – Start Drilling
To correctly install shelf support pins, select the appropriate size, such as 3mm, 5mm, 1/4″, or 7mm. Use the same size drill bit to create the hole, not making it too deep.
To avoid this:
- Measure the drill bit and attach a piece of tape to prevent the drill bit from going too far.
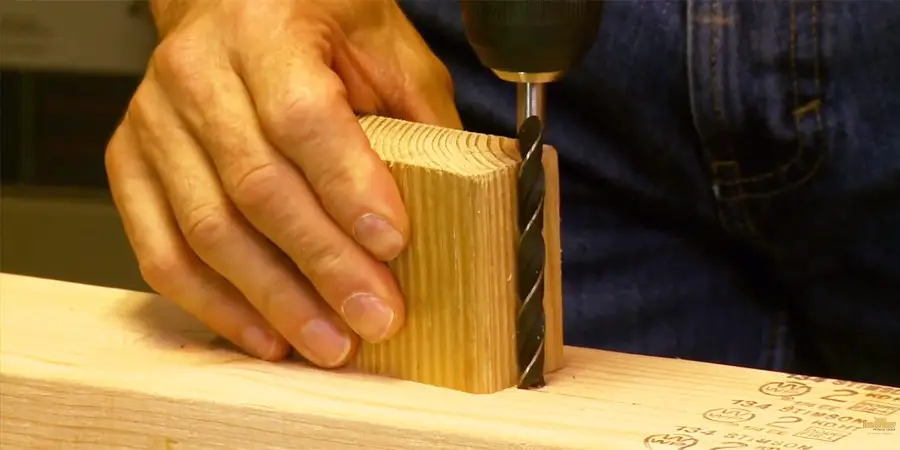
- Place the drilling jig over the hole, and drill through its holes.
- After drilling one side, repeat the same process on the other side.
Note: Ensure that the pins remain secure. You can try drilling another pin at a different location as a trial for this problem.
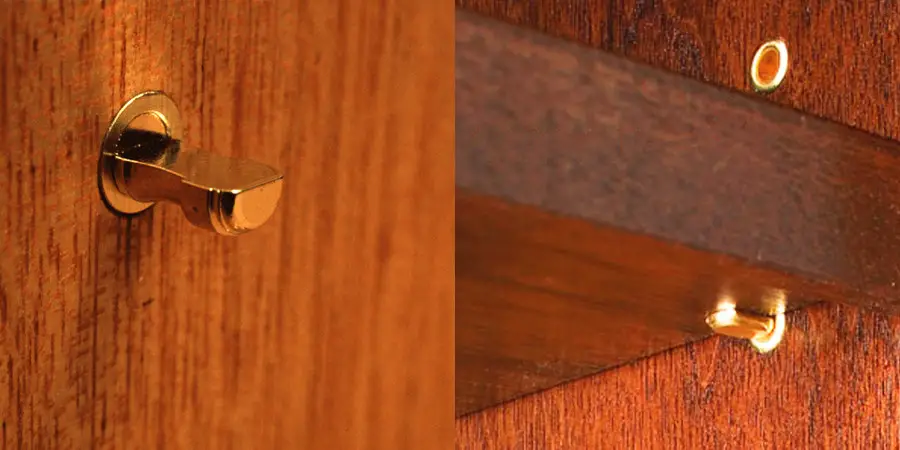
Step 4 – Inserted Pin Into the Hole
If the hole is the correct size, insert the shelf support pin into your hand. If it cannot be inserted, double-check the size of the drill bit.
You can insert the pin at all points on the shelf or through the points where support is necessary.
Step 5 – Check the Stability of the Shelf
The final step is to double-check the work. Ensure that the pins are correctly fitted, the shelf pin can support the weight, and that the pins do not budge. These are all indicators that the job has been done correctly.
What are the Max Safe Load Per Shelf Support Pins?
The maximum safe load per shelf support pin is determined by the strength of the material that the pin is supporting. Thicker and stronger boards or plywood can handle more weight per pin than thinner, weaker materials.
The material and size of the pin also affect the load capacity, with pins made of higher-quality materials typically able to support more weight. Generally, shelf support pins can hold anywhere from 20-35 lbs depending on the specifics of the material and pin.
Conclusion
Installing shelf support pins is a simple task. With the proper guidance and the steps outlined in this article, you can easily install shelf support pins and make sure your shelves are secure and stable. So, be ready to install your shelf support pins and make the most of your furniture.
If you found this article helpful, please comment and share it with your friends! Let’s help each other make the most of our furniture and shelves.
Read Our Another Article – How to Fix Brad Nails Sticking Out