Welcome! If you’re here, then you want to know how to safely and effectively install or remove drop-in anchors. Removing drop-in anchors can be tricky, but luckily, with the right tools and a little know-how, you can easily remove them. This guide will walk you through the steps you need to take to safely and effectively install and remove drop-in anchors. Let’s get started!
Step-by-step Instructions for Installing Drop-in Anchor
To be successful, you can go through the following steps:
Step 1 – Mark the Hole’s Location
To begin, choose where you would like to install the drop-in anchor. Using a marker or a pencil, mark the location of the hole you will be drilling for the drop-in anchor. Measure and mark the exact location of the hole.
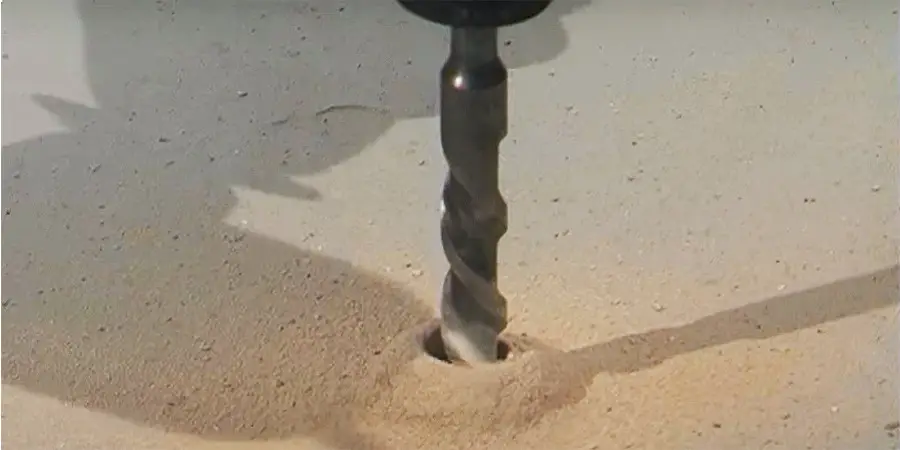
Step 2 – Create a Hole
It is essential to select the appropriate drill bit corresponding to the anchor’s size and thickness. Usually, instructions for the corresponding drill bit are included in the packet or on the website. If not, the following table chart can be used for reference.
| Anchor Thread Dia. (in.) | Drill Bit Dia. (in.) | Anchor Length/ Min. Embed. Depth (in.) |
|---|---|---|
| 1/4 | 3/8 | 1 |
| 3/8 | 1/2 | 1-9/16 |
| 1/2 | 5/8 | 2 |
| 5/8 | 7/8 | 2-1/2 |
| 3/4 | 1 | 3-1/4 |
You can ensure accuracy by twisting the tape around the drill bit while creating a hole.
It is important to ensure that the drill hole is straight. If the hole is crooked, the Anchor will be installed crooked and can reduce its strength.
Step 3 – Clean the Surface
Once you have drilled the hole, you need to ensure that it is clean and free of debris. Use a brush or compressed air to clean the hole and ensure it is free of dust or debris.
Step 4 – Insert the Anchor
Then you can insert the drop-in Anchor. Make sure that the Anchor is inserted into the hole. You may need to use a hammer or mallet to ensure that the Anchor is seated correctly. Ensure the head of the Anchor is even with the surface of the wall or floor.
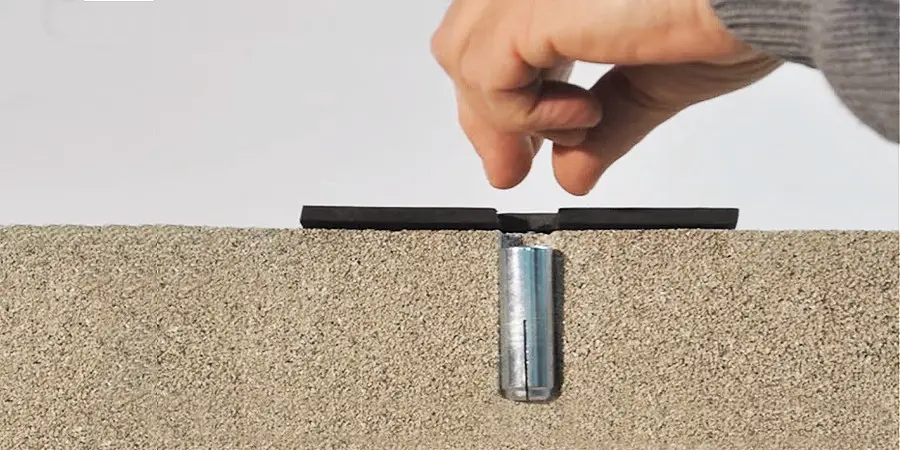
Optional – The “Drop-in Anchor Setting Tool” can be used for placing anchors with ease. To use it, place the Anchor on the tool and give it a gentle tap.
Step 6 – Attach the Fixture
Once the Anchor is in place, securely attach the fixture to it. Ensure that it is properly connected and firmly attached.
Done!
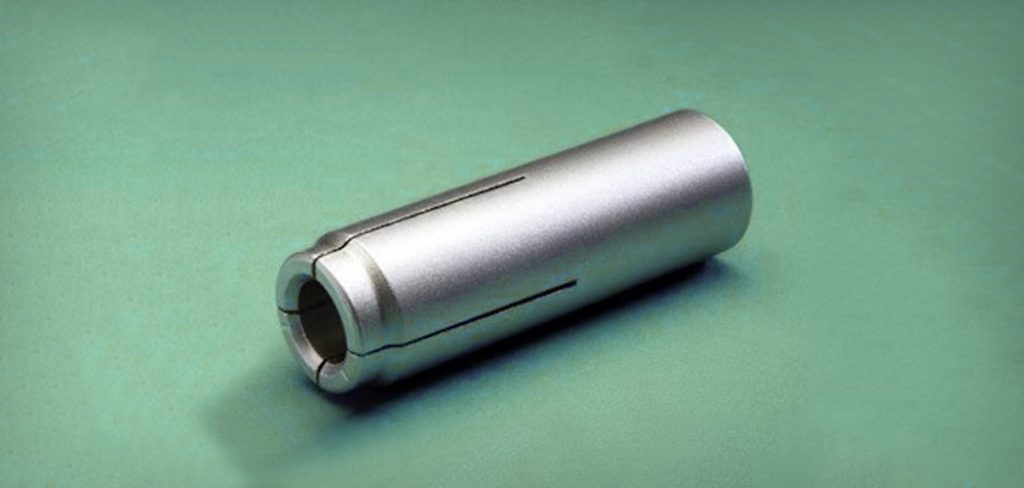
Step-by-step Instructions for Remove Drop in Anchor
Removing a drop-in anchor can be tricky, but it doesn’t have to be! Anyone can easily remove a drop-in anchor with the right tools and a few simple steps. This guide will provide step-by-step instructions to help you remove a drop-in anchor successfully. So let’s get started!
You should need a few tools to complete the job –
- Screwdriver,
- Socket wrench,
- Hammer drill with a carbide drill bit, and
- Claw hammer.
Step 1 – Unscrew the Anchor
Your first task will be to detach all items connected to the Drop in Anchor. To do this, you must unscrew or unbolt the Anchor. If the screw or bolt has become rusted and tight, applying some WD 40 should help loosen it.
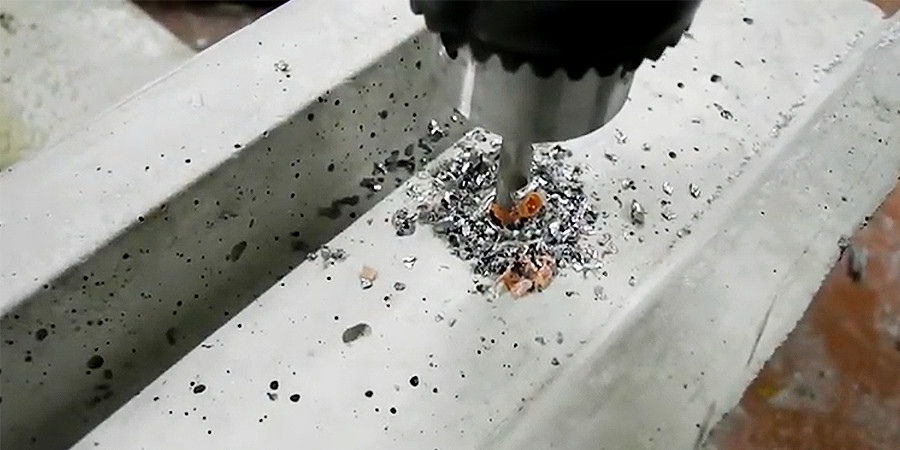
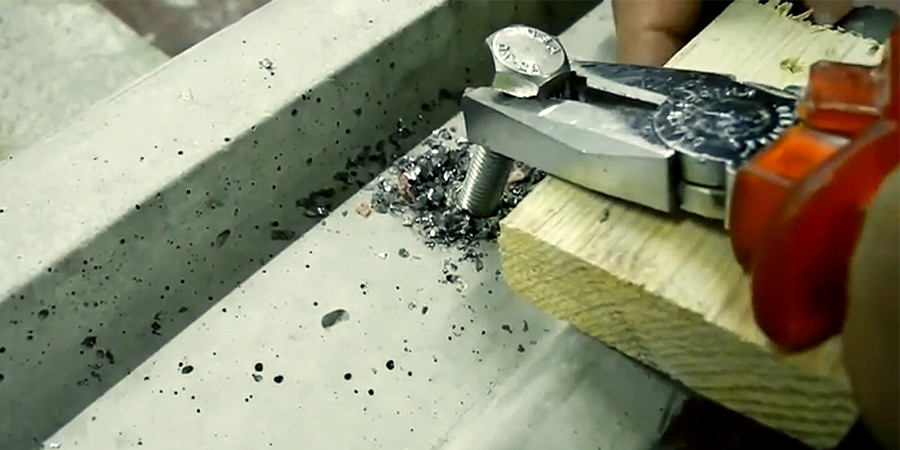
Step 2 – Drill into the Anchor
The next step is to drill through the drop-in Anchor. First, use a drill bit the same size as the face of the Anchor. Drilling creates vibrations around the Anchor which loosen the Anchor’s holding and break down the thread, altering the shape of the Anchor.
If the Anchor can come up with the drill while going through this step, then there is no need to proceed to the next step. Otherwise, the next step should be taken.
Step 3 – It’s Time to Pull Up
Once the hole has been drilled, securely insert a screw or bolt of a size that fits the anchor thread into the anchor hole. Insert at least 1/2 inch of the bolt into the Anchor.
Using a pair of pliers or a claw hammer (depending on the size of the screw or bolt), grip the bolt and pull it upwards. The Drop in Anchor should come out quickly with a bit of pressure.
And Done!
Alternative Method
You can try an alternative solution if you cannot use Drop-in Anchors.
- To replace Drop-in Anchors, first, detach any screws or bolts that are attached to them.
- Then, fill the hole with a ready-mix concrete patch or concrete mixer. This will cover the Anchor, preventing any future issues.
Conclusion
Drop-in anchors are a great way to attach fixtures and objects to concrete walls and surfaces securely. Anyone can easily install or remove drop-in anchors with the right tools and simple steps. Now that you understand the steps involved in installation and removal, you can confidently and safely install or remove drop-in anchors in any project. So go out there, get the right tools and start your drop-in anchor project today!
If this guide is helpful, please, comment and share it with your friends who might need help.
FAQ’s
Can I Reuse the Drop Anchor After Removal?
It is not advisable to reuse drive-in anchors after they have been used in a hole, as their rosy lip will be damaged during removal, resulting in a loss of gripping power and, in some cases, threading and deterioration.
Is a Drop-in Anchor Removable?
Yes, a drop-in anchor can be removable, but it is not designed to be removed from the surface and requires unique methods.