If you’re looking to add some extra security to your trailer, you might want to consider installing some recessed D-rings. These handy little devices can provide a great anchor point for tying down cargo and are relatively easy to install. Here’s an easy guide on how to do it.
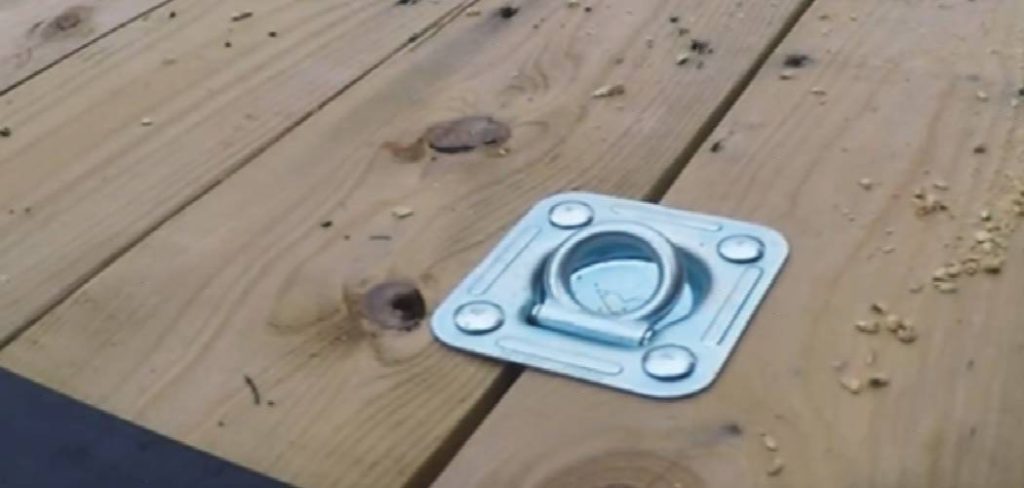
Table of Contents
- Why Are Recessed D-rings Used?
- Load Capacity
- Why is the Backing Plate Used With a Recessed D Ring?
- How to Install Recessed D Rings on Trailer Floor
- Does It Matter Which Way the D Rings Face Should Be?
- Final Thoughts
Why Are Recessed D-rings Used?
Recessed D-rings are often used in trailers because they offer a more secure anchor point than surface-mounted D-rings. This is because they’re flush with the floor, making it more difficult for your cargo to shift and become loose.
Load Capacity
When selecting recessed D-rings for your trailer, choose ones with a high enough load capacity for your needs. Otherwise, your trailer could be at risk of becoming unbalanced or tipping over.
For Example, The PF21 has a break strength of 5000 pounds and a working load limit of 1666 pounds. The PF22 and PF23 have the same break strength and working load limit as the PF21 but are slightly larger. The PF24 has a break strength of 6000 pounds and a working load limit of 2000.
Why is the Backing Plate Used With a Recessed D Ring?
An important part of the recessed D-ring is the backing plate. The backing plate reinforces the floor around the D-ring and distributes the load more evenly. This helps to prevent the floor from becoming damaged or breaking if a massive amount of force is applied to the D-ring.
How to Install Recessed D Rings on Trailer Floor
In order to install recessed D-rings on a trailer floor, you will need a marker pen, a cordless drill with a drill bit, and a carbon steel hole saw or circular saw. You will also need a D-Ring Recessed with Tie-Down Plate Kit.
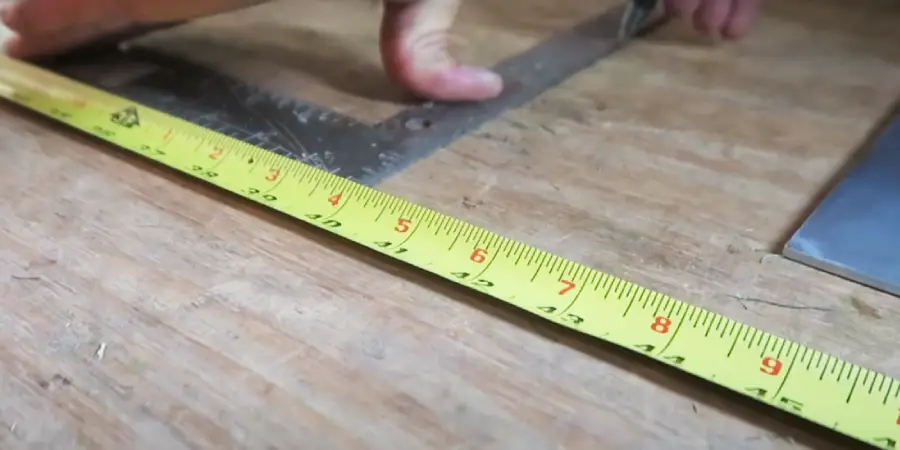
Step 1 – Measure the Position
Before installing recessed d rings on a trailer floor, measuring the area where the rings will be placed is essential. There should be at least 7-8 inches of space around the ring to allow for proper load bearing. The area where the recessed D-ring will sit on the trailer floor should also be checked for any damage to the wood.
Step 2 – Make a Hole
After measuring the area and choosing the right location, use a marker to mark where you want to put the ring. Then, use a hole saw to cut a hole that is the appropriate size for the ring. Substitute, you can use a jigsaw to cut the hole.
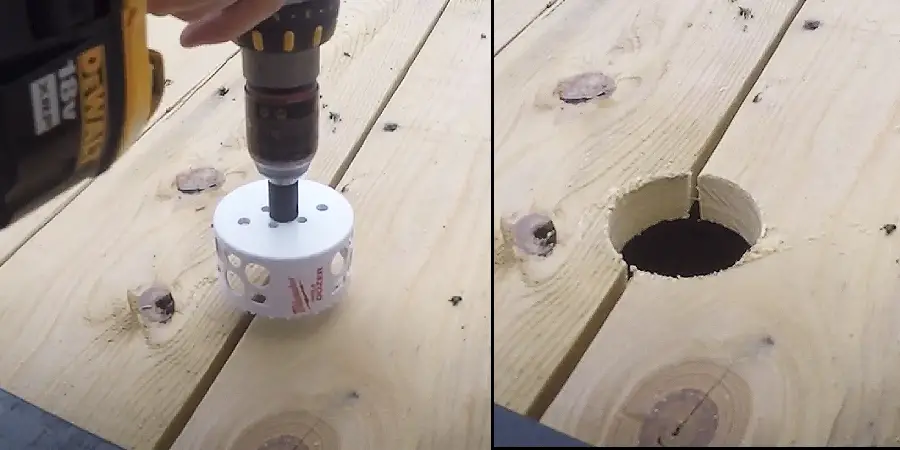
Note: If you are using a jigsaw, mark the outline of the ring on the wood before starting to cut.
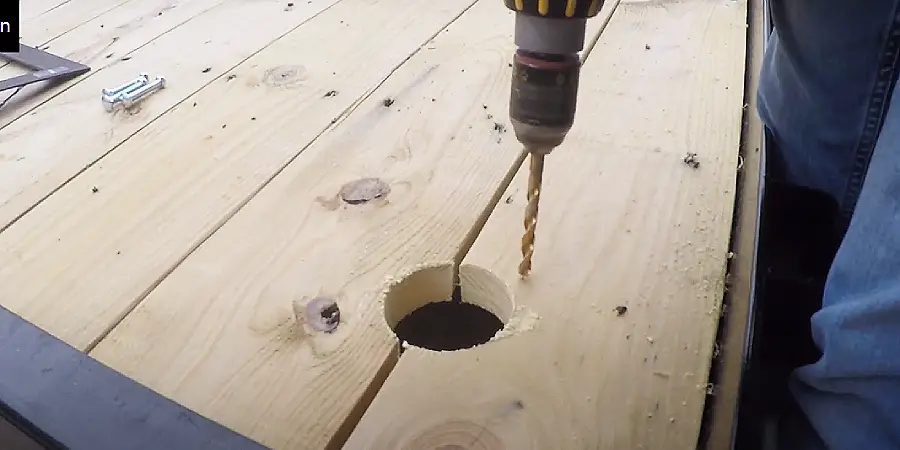
Step 3 – Drill for Bolts
It’s time to place the ring on the trailer floor. Insert the recessed D-ring into the hole. Next, use a marker or pencil to mark where to install the bolt. Then, drill the pointed places (select the drill bit size according to the size of the bolt).
Step 4 – Placed the Recessed D-Ring
After drilling the hole:
- Place the D-ring in the hole and set the backer plate under the trailer floor.
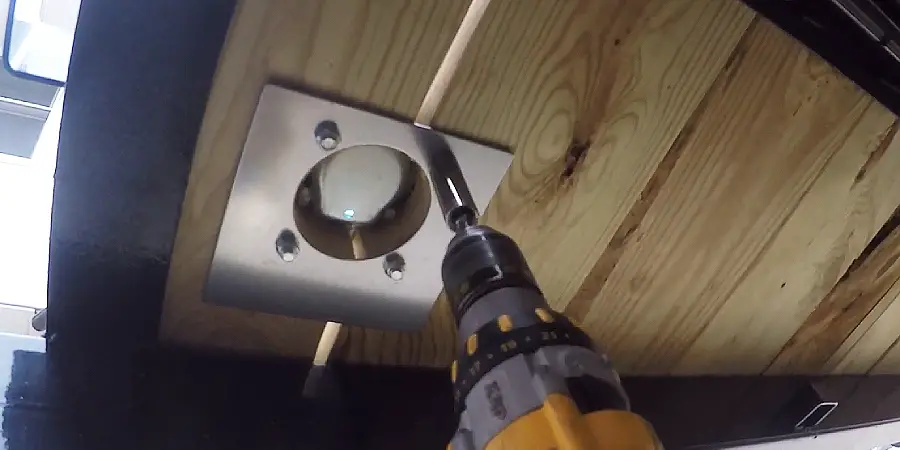
- Attach the bolts with the nuts and tighten them.
- Ensure that the bolts and nuts are not loose.
Done!
Caution: I have seen many people use screws or large nails instead of bolts on the trailer frame, which is very dangerous. I would suggest only using bolts.
Does It Matter Which Way the D Rings Face Should Be?
Installing the recessed D-rings is important to face the right direction. The recessed d ring should be installed with the opening facing the inside of the trailer. This will allow you to quickly attach a rope or strap to the ring. It is also important to confirm that the recessed d ring is installed. This will ensure that the D-ring can adequately support the weight of your cargo or others.
Final Thoughts
Just follow the steps outlined in this quick guide, and you’ll have your recessed D-rings installed in no time. If you found this guide helpful, please share it with your friends! We would also love to hear about your experience installing recessed d rings on a trailer floor.
Read More:
