Removing small nails from IKEA furniture can be straightforward if you have the right tools and follow the correct steps. This guide explains how to remove nails carefully to avoid damage to your furniture and keep the process safe and efficient.
Stay Safe First
Safety should be your top priority whenever you work with tools or furniture.
- Wear safety glasses to protect your eyes from flying debris or broken nail pieces.
- Use cut-resistant gloves to avoid injuries from sharp edges or splinters.
- Work in a well-lit area so you can clearly see the nails and surrounding surfaces.
- Set up your workspace on a stable surface like a sturdy table or workbench to keep the furniture steady.
- Ensure good ventilation if you plan to use oils, solvents, or fillers during the process.
- Keep a first aid kit handy with basic supplies like bandages and antiseptic wipes for minor cuts or splinters.
Tools You’ll Need
Using the right tools helps you remove nails quickly and safely.
- Cutting pliers: Ideal for gripping and pulling small nails without slipping.
- Flathead screwdriver: Useful for sliding under nail heads and gently prying them up.
- Claw hammer: Helps lift nails once they are slightly loosened.
- Utility knife: Can cut around nails covered by paint or glue to free them.
- Needle-nose pliers or vice grips: Great for stubborn nails or broken pieces.
- Small pry bar or putty knife: Use with care on delicate surfaces to avoid damage.
Before starting, check all your tools for rust or damage. A sharp, smooth screwdriver tip works best. Lubricate plier joints for easy operation.
Prepare Before You Start
Proper preparation will make nail removal easier and reduce the risk of damage.
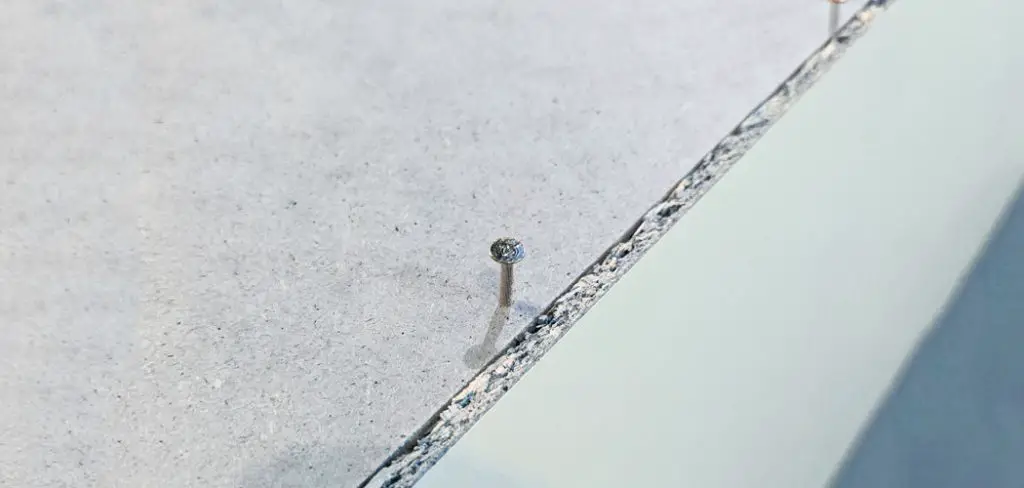
- Identify the type of nail you are dealing with. IKEA usually uses panel pins or small finishing nails mostly in back panels or trim.
- Check the furniture material. IKEA pieces may be made from solid wood, particleboard, MDF, metal, or laminated surfaces. Knowing this helps you choose the right approach.
- Clean the area around the nail to remove dust or dirt. This reduces the chance of scratches.
- Remove any hardware or panels that block access to nails. This could be drawers, shelves, or backing boards.
- Stabilize your furniture on a flat, steady surface so it does not move while you work.
Easy Methods to Remove Nails
Method 1: Using Cutting Pliers
- Slide the cutting pliers under the nail head, ensuring a firm grip just below it.
- Place a thin piece of scrap wood beneath the pliers to protect your furniture’s surface.
- Gently rock the pliers from side to side to loosen the nail.
- Pull the nail straight upward slowly to remove it without breaking.
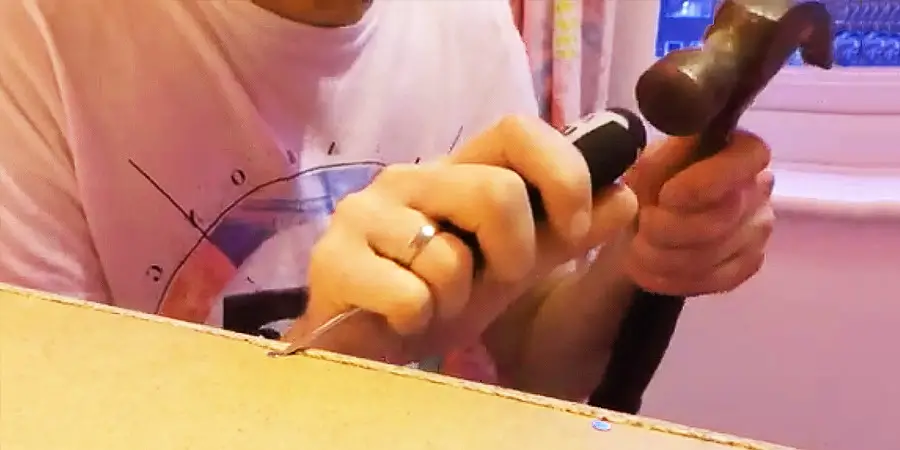
Method 2: Using Screwdriver and Hammer
- Carefully slide a flathead screwdriver under the nail head.
- Tap the back of the screwdriver gently with a hammer or mallet to pry the nail upward.
- Once the nail lifts slightly, use a claw hammer or pliers to pull it out completely.
Handling Stubborn or Damaged Nails
Some nails may require extra care.
- For rusty nails, tap lightly around the nail to loosen it. Apply a small amount of penetrating oil to the base of the nail. Always use oil in a well-ventilated area and keep away from open flames.
- For broken or headless nails, grip the visible nail shaft with vice grips or needle-nose pliers. Twist slightly and pull carefully.
- If a nail is bent or at an angle, pull it in the direction it was driven to avoid damaging the wood.
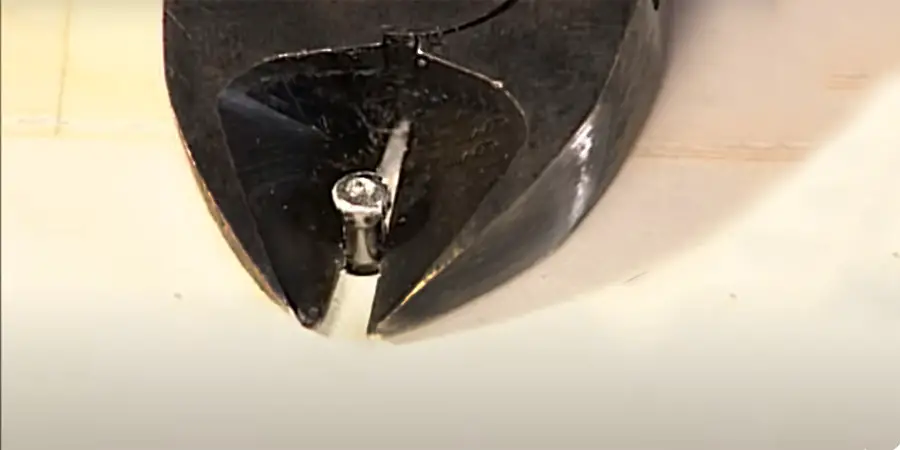
- For nails that won’t budge, you can cut them flush with a rotary cutter and then fill the hole afterward.
- When necessary, drill a shallow pilot hole beside a broken nail to help remove it. Wear safety glasses and work slowly to avoid damaging the drill bit or furniture.
Troubleshooting Common Issues
- If the nail does not move, try rocking it gently back and forth instead of pulling straight up.
- To prevent the wood from splintering, score carefully around the nail head with a utility knife.
- Use a small amount of oil to lubricate nails that are stuck.
- If a nail breaks during removal, drill slowly beside it and use a hook or awl to pry out the remaining piece.
Repair and Finish After Removal
After the nail is out, repair the hole to keep your furniture looking good.
- Use a wood filler for solid wood or painted surfaces. Apply with a putty knife, let it dry, and then sand smooth.
- For laminated or foil-coated panels, use melamine repair kits, colored wax sticks, or touch-up pens that match your furniture’s color.
- Sand the repaired area lightly to blend it with the surrounding surface.
- Apply matching paint or stain as needed.
- For serious damage or structural issues, consider hiring a carpenter, restorer, or skilled handyman to perform professional repairs.
How to Avoid Removing Nails in the Future
- Prefer screws, cam locks, and wooden dowels over nails when assembling or repairing IKEA furniture. These fasteners allow easy disassembly.
- Avoid using nails on delicate surfaces like particleboard or laminates.
- Use removable adhesives, Velcro strips, or double-sided tape for lightweight attachments instead of nails.
Important Notes About IKEA Furniture
- IKEA uses a wide range of materials, including solid wood, particleboard, MDF, metal, and laminate surfaces.
- Nails are mostly found in backing panels, trim pieces, or older furniture models.
- Most IKEA furniture relies on cam locks, screws, and dowels designed for easy assembly and disassembly.
- Removing nails for repair generally does not void IKEA’s warranty, which covers manufacturing defects rather than user modifications.
- Take care when working with particleboard and laminates to avoid chipping, cracking, or peeling.
Summary
Removing small nails from IKEA furniture is manageable with the right tools and care. Always put safety first. Prepare your workspace and furniture. Identify the nail and material type. Use gentle, steady pressure to remove nails. Repair holes to keep furniture looking good. Avoid nails in future assembly to make repairs easier.
You may read also – How to Remove Headless Nails