In this article, I will provide insight into the correct method of screwing down floorboards, starting with selecting the right screw for the job. I have gathered adequate research & self-experience to give you the most accurate and detailed information on the procedure. Please stick with me to learn more!
What Kind of Screws Are Used on the Floorboard?
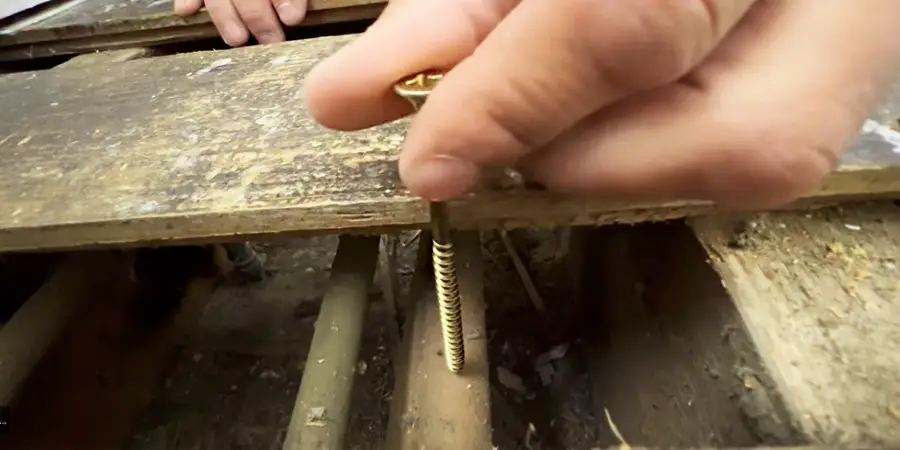
Floorboards commonly use countersunk floorboard screws, also referred to as deck screws. These screws are specially designed for use in timber, fiber, or other types of floorboards. They have flat or star and countersunk heads, allowing them to be sunk into the floorboards without having to pre-drill a hole. This makes them an ideal choice for floorboards.
When selecting screws for floorboards, many state that 40-50mm is ideal. However, I have a different opinion. When selecting the appropriate screw size for floorboards, it is best to measure the height of the floorboard and the height of the wooden structure and choose a screw that is 1/3 inch smaller than the full size. This is an ideal size from my point of view.
A Step-by-Step Guide to Screw Down Floorboards
The process of screwing down floorboards can seem daunting, but it doesn’t have to be. When done correctly, it can be a quick and straightforward process. Here is a step-by-step guide to help you get the job done right:
Necessary equipment:
- Drill Machine (With Torx/Star Driver Bit)
- Hand Saw,
- Pencil Or Marker,
- Measuring Tape,
- Screw.
Step 1: Check and Prepare to Begin Working
Survey the interior of the structure diligently, identifying and highlighting sensitive areas. Note the precise locations of electrical and water lines and any other hidden elements to ensure careful handling during the project. Additionally, verify the accuracy of all joints in the structure, as rectifying errors later would be time-consuming and labor-intensive.
For smaller areas where floorboards are to be installed, take meticulous measurements of the space and the floorboards themselves. Once the measurements are acquired, transport the floorboards to the site, ensuring they are a perfect fit for the designated area.
Commence the installation process from a corner of the room, progressing methodically from there.
Step 2: Place on the Floorboard
Begin the placement of floorboards from any corner of the room, ensuring a stable starting point. For optimal results, secure the floorboards firmly by driving screws into both ends. This will prevent the floorboards from producing unpleasant sounds when walked upon.
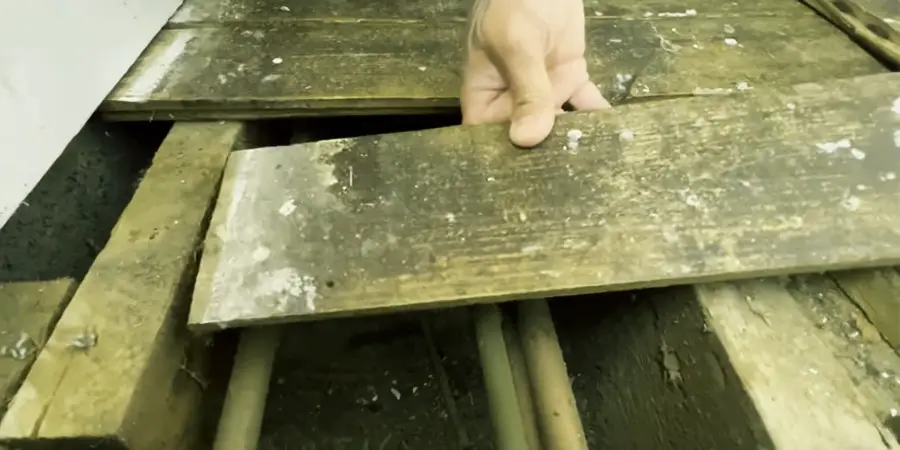
Note: it is crucial to measure the joist space beforehand to achieve a flawless and noise-free flooring installation; take precise measurements of the distance between the 3 (three) joists and then customize the floorboards to fit precisely within that measured size. Two floorboards must be appropriately dimensioned to ensure they can be positioned next to each other on a joist.
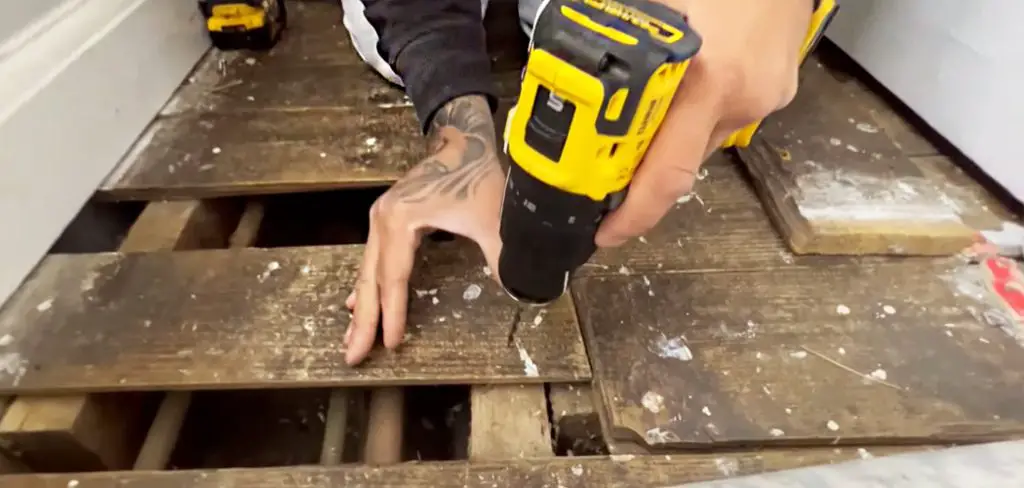
Step 3: Screw Down the Floorboards (for 1st Row)
Once a floorboard is in place, proceed to secure the adjacent sides. Drive screws into all four corners and the middle of each floorboard at a 70-80 degree angle. This method ensures a snug fit, preventing the floorboards from coming off easily.
Exercise caution to ensure that the screws do not protrude from the sides of the joists. Continue the installation process by securely fastening the next set of floorboards in the same manner.
Step 4: Cut the Floorboard at the End of the Row
Upon reaching the end of the row, the floorboard doesn’t align perfectly with the wall. In such cases, it should be cut to fit the remaining space using a Hand Saw.
However, ensuring that the floorboard’s width is at least the distance between two adjacent joists in the last row is crucial. To achieve this, you may need to trim some parts from the previous floorboard to attain the appropriate size.
Step 5: Screw Down the Floorboards (for the Next Row)
When screwing down the floorboard, it is essential to adhere to the guidelines of the 1st row. However, the rules differ slightly during the installation of the subsequent rows.
The floorboard should be positioned in the middle of the two preceding floorboards, avoiding aligning it exactly with the previous one (This is often referred to as a “brick” pattern). Additionally, the gap left from the last row should be filled following the instructions outlined in step 4.
Step 6 – Continuous Process and Check
Continue placing and securing floorboards row by row following the same method described in steps 2 to 5. Ensure that each floorboard is positioned correctly and securely to the joists to prevent squeaking or movement.
And Done!
Some Tips
- Avoid placing screws too close to the edges of the floorboards to minimize the risk of splitting the wood.
- Wear gloves to protect your hands from splinters when handling the floorboards.
- Utilize a measuring tape to ensure accurate sizing of the floorboards before installation.
- Choose screws that are long enough to penetrate through the thickness of the boards and securely attach them to the subfloor.
- When screwing down the floorboards, tighten the screws until they are snug, but take care not to over-tighten and strip the threads.
- While arranging the floorboards, check that each row is parallel. If not, you can use thin wood in low areas to level the surface.
FAQ’s
Do Floorboards Use Nails Instead of Screws?
Floorboards can be secured using nails, though they may lead to creaking noises as they loosen over time due to the wood’s natural movement. Screws are now favored for their stable connection, reducing squeaking and offering a smoother floor surface.
What Size Screws to Fix Squeaky Floors?
The size of screws to fix squeaky floors depends on the thickness of the floorboards and the underlying subfloor or joists. Generally, it is recommended to use screws that are around 2 inches to 2.5 inches (approximately 50mm to 65mm) in length.
These screws are long enough to securely fasten the floorboards to the subfloor or joists without protruding through the other side.
Conclusion
The information provided in this article is based on my personal experiences, making it more relatable and understandable. To avoid confusion, I have carefully structured the article step by step. I encourage you to read it thoroughly before commencing your work.
If you have any questions or need further clarification, feel free to leave a comment below, and I’ll be happy to assist you. If you find this information valuable, please share it with your friends and leave a comment to let me know your thoughts. Your feedback and support are greatly appreciated!
Thanks.
You may read also – How to Remove Old Deck Screws