Welcome to our guide on how to screw pallets together. This is a simple process that anyone can do with the right tools and a little know-how. We’ll walk you through everything you need to know, from gathering the supplies to putting the finishing touches on your project. So let’s get started!

Table of Contents
- What Types of Screw Are Used for Joining a Pallet?
- How to Screw Pallets Together?
- Alternative Way (Only for Wooden Pallets)
- Conclusion
What Types of Screw Are Used for Joining a Pallet?
There are generally four types of pallets: wooden, plastic, paper, and steel. The type of screw you use will depend on the pallet’s material.
Wooden Pallet
Stainless steel screws with a flat head and Phillips head are ideal for use in wood pallet projects. The flat head design allows the screws to sit flush with the surface of the wood, while Phillip’s head makes them easy to drive in and remove.
Plastic Pallet
The Steel Thread Rolling Screw is designed for joining two plastic pallets together. It is made of high-quality steel and is easy to install, providing a solid connection between the two pallets.
Steel Pallet
The steel pallet is too heavy for the screw to handle. Bolts with nuts can be used to connect them; although there will not be enough, the pallets can be welded together and tightened.
Paper Pallet
You can use a stapler, glue, or tape to combine the paper pallets. You don’t need to use screws or bolts because the paper is light.
How to Screw Pallets Together?
People often have questions about screwing wooden or plastic pallets together. I will discuss screwing both materials to the pallet in detail. Be sure to read the steps thoroughly before starting the task to avoid any mistakes.
Step 1 – Place the Pallets
Arrange the pallets in the desired configuration, ensuring they fit snugly together with no gaps. It will provide a strong structure.
Step 2 – Mark on Base Plate
Place the base plate on the joint of the two pallets, ensuring it is evenly placed between them. Mark them where the holes on the base plate line up with the pallets using a pencil or marker. Do this on both sides of the pallet.
Step 3 – Drilling Hole
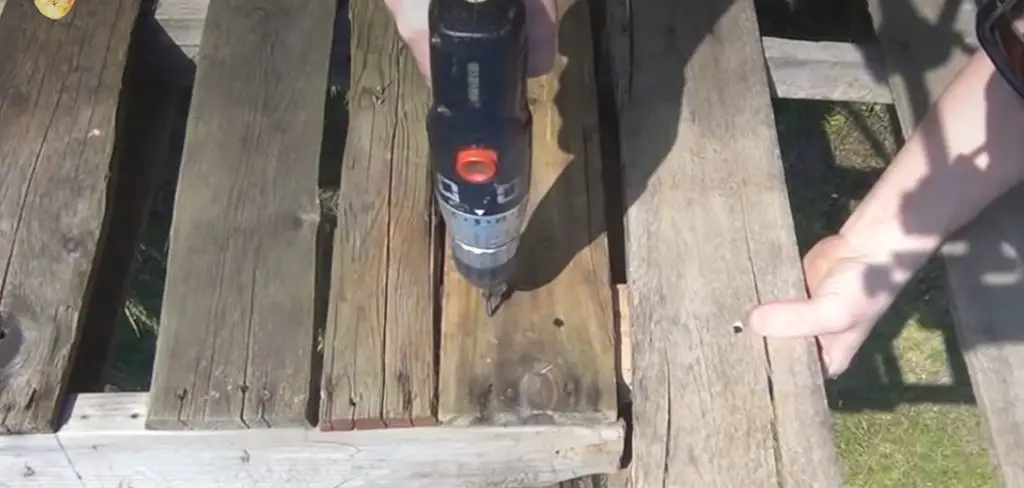
Use a High-Speed Steel (HSS) drill bit on the drill machine that matches the diameter of the screw you are using. Drill at the marked place, making the hole less than the screw length.
Step 4 – Install the Screws
Install the screws in the drilled holes of the base plate on the wooden/Plastic pallets. Use the screwdriver to tighten the screws slowly and evenly without over-tightening one screw. Check that the screws are correctly tightened.
(For Plastic pallets: Thread rolling screws can be used for plastic pallets, and thread taps can be used instead of standard drill bits to make holes so that the rolling thread screws fit correctly on the plastic. The above steps can be followed for the rest of the work.)
Alternative Way (Only for Wooden Pallets)
If you don’t have screws, you can use nails instead. Just make sure the nails are long enough to go through the thickness of the pallets. You’ll also need a hammer to drive the nails in. And you should see that the nail heads fit correctly into the base plate holes.
The downside of nails is that they don’t have a tread-like screw, so they don’t grip the wood as well. It can cause the connection to the wood to break if there is too much pressure.
Conclusion
Thanks for following our guide on screwing pallets together. This is a simple and effective way to create a sturdy structure for any project. Be sure to gather the right supplies and follow the steps carefully to ensure a successful outcome.
Read More: Best Ways to Screw Railroad Ties Together
