Welcome to our Guide on using a stud extractor (stud puller)! This is an incredibly useful tool that can be used to remove the most stubborn of studs, bolts, and screws. We’ll walk you through the process by the following steps so that you can quickly and easily take apart whatever you need with your stud extractor.
What Does a Stud Extractor Do?
Stud extractors are tools that are used to remove stubborn, damaged, or rusted threaded fasteners such as bolts and studs from a surface. They feature sharp teeth which bite into the fastener and grip it, enabling it to be removed without causing damage to the surface to attach it.
Perfect Guide to Using the Stud Extractor
Removing rusty and stripped stud bolts can be made easy with the Impact Stud extractor. This tool is much more efficient than other extractors when dealing with these bolts.
In order to complete this job, you will need –
- Wd-40, an
- impact drill or impact wrench
- impact stud extractor
Step 1 – Use WD40
If your stud bolts are stuck in place, it’s likely due to rust corrosion on the threads. Try applying WD40 to the stud holes for at least 30 minutes to loosen them up. This will help to soften them and make removal much easier.
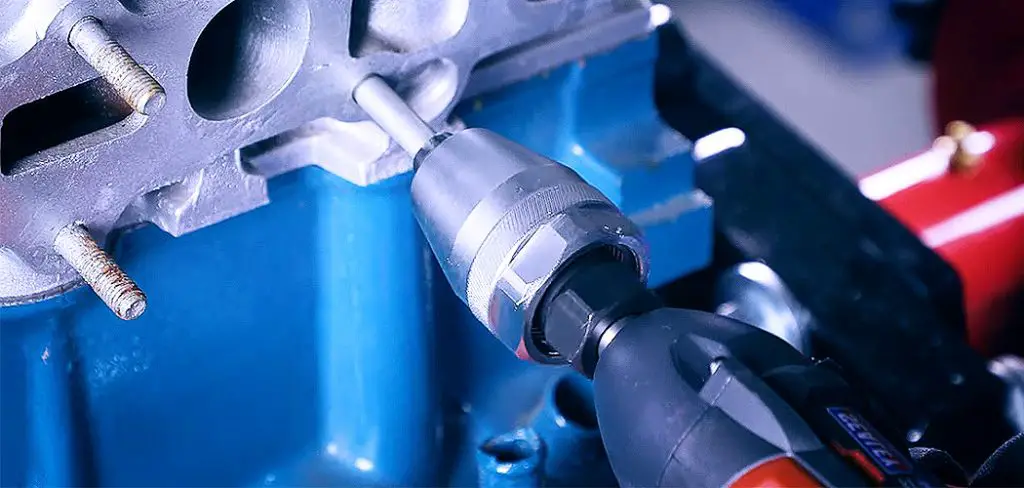
Step 2 – Attach the Extractor With an Impact Drill or Driver
Secure the stud extractor onto your impact drill or impact wrench. Make sure it is securely attached and will be tight while working.
Step 3 – Set the Stud Extractor & Remove the Stud
Set the stud extractor to the appropriate depth. The depth should equal the depth of the stud you are trying to remove. Make sure the teeth are securely gripping the stud before you begin.
Slowly begin to reverse the direction of the drill or impact wrench. This will cause the extractor to pull the stud out of its threads. Keep the pressure steady and consistent, and make sure that the stud extractor remains in place.
Maybe It’s done!
Another Type of Stud Extractor or Puller (Manual)
A manual stud extractor or puller is another type of stud remover available in the market. It is used with a half-inch square drive ratchet and is simple to use.
- All you need to do is to place the extractor in the stud (it has small and large holes for different sizes of studs),
- Attach the ratchet to the extractor
- Then turn the ratchet counterclockwise to loosen the stud.
This tool also serves the purpose of installing new studs.
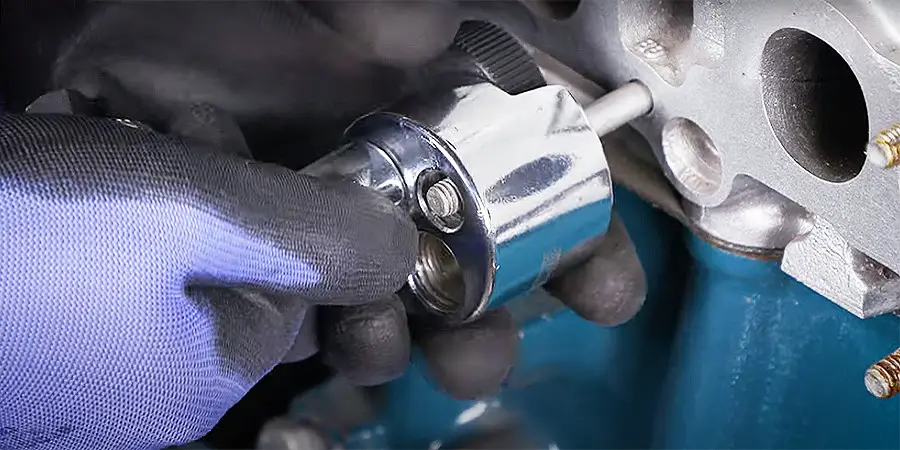
Alternative (DIY Method)
This DIY method is simple, cost-effective, and highly effective! I had previously used it when I needed the necessary tools to remove the studs. Here’s how it works:
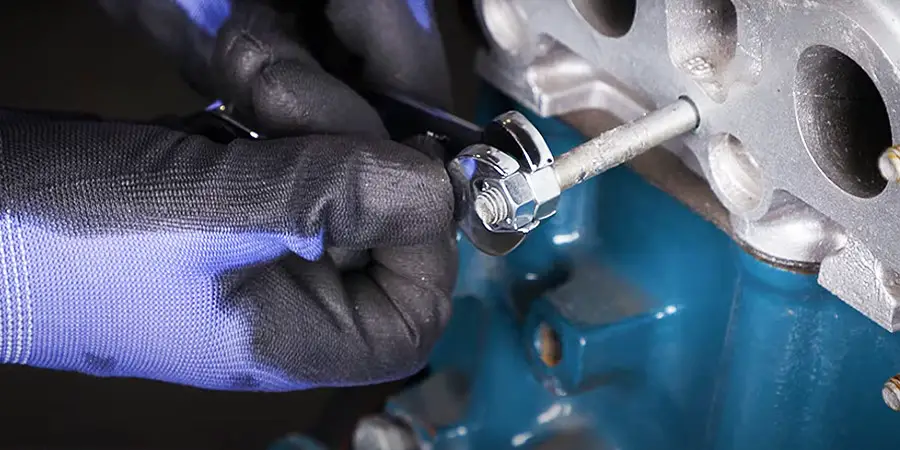
- Insert two nuts into the threaded body of the stud, one after the other,
- Turn the first nut upside down and tighten it with the second.
- To remove the stud, hold the second nut with a wrench and turn the first nut counterclockwise with another wrench. Magic!
This method is only applicable to threaded studs.
Conclusion
In conclusion, a stud extractor is a handy tool that can help to easily and quickly remove stubborn studs, bolts, and screws. We’ve outlined the steps to using one and a simple DIY method for removing studs. With the right approach and tool, it’s easy to disassemble whatever you need to. We hope this Guide has been helpful and that you can now easily take apart whatever you need.
Thanks for reading our Guide on using a stud extractor (stud puller). If you found this Guide helpful, please comment and share it with your friends.
Read Also – How to Use Spiral Screw Extractor