Pop rivets are fasteners used to join two or more pieces of material. They work by expanding inside a drilled hole, locking the materials together. This guide covers pop rivet types, materials, installation, technical specs, safety, and best practices.
What Is a Pop Rivet?
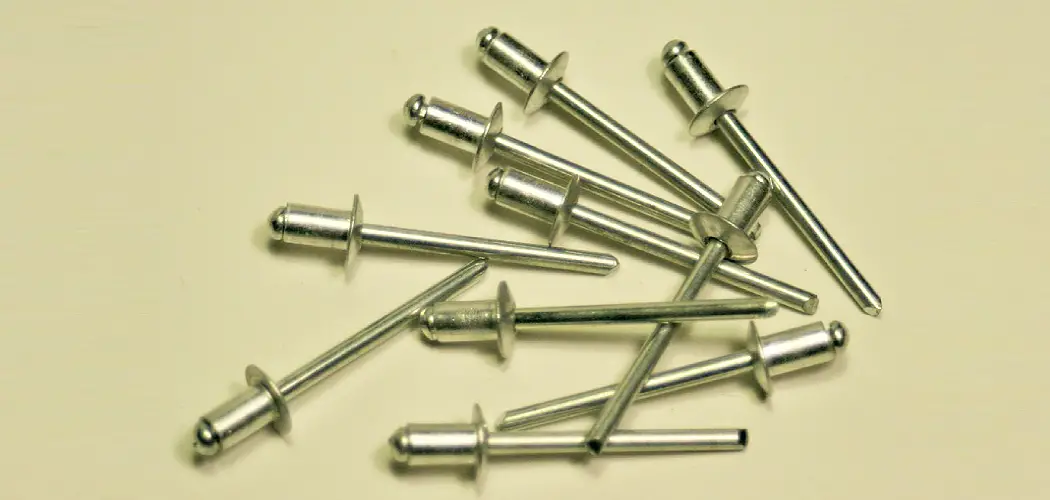
A pop rivet, also called a blind rivet, has two parts: a rivet body (sleeve) and a mandrel (pin). During installation, the mandrel is pulled through the body, expanding it to form a secure joint. The “pop” sound happens when the mandrel snaps off.
Pop rivets are installed from one accessible side but require space to insert and grip the mandrel with a rivet gun.
Types of Pop Rivets by Head Shape
- Dome Head: Rounded top, low-profile finish; fits aluminum, steel, plastics.
- Flat Head: Flat top, applies higher surface pressure; slightly raised above material.
- Large Flange Head: Wide, flat head to spread pressure, prevents pull-through on soft materials.
- Countersunk Head: Flush with surface for smooth finish.
- Open End Head: Large head on one side; cost-effective for low-load uses.
Specialty Rivets
- Multi-Grip Rivets: Fit materials of varying thickness.
- Sealed/Watertight Rivets: Prevent entry of water or dust.
- Structural Rivets: High strength for demanding loads.
- Peel-Type vs. Bulb-Type: Different expansion mechanisms for grip.
- Tri-Fold Rivets: Fold three times inside the hole for strong grip.
Materials Used in Pop Rivets
- Aluminum Alloy: Lightweight; good general use; temperature up to ~200°C.
- Steel: Strong; resists vibration; temperature tolerance higher than aluminum.
- Stainless Steel: Corrosion-resistant, durable; suitable for harsh environments; high-temperature tolerance.
- Copper: Good electrical and thermal conductor.
- Monel: Corrosion-resistant for saltwater environments.
- Titanium: Strong, lightweight; used in aerospace; high heat resistance.
- Plastic/Nylon: For insulation or corrosion resistance; lower strength and temperature tolerance.
- Hybrid Materials: Combine metals and plastics for specific needs.
Note: Avoid using dissimilar metals together to prevent galvanic corrosion.
Installation Process & Tools
Step-by-Step Installation
- Align Materials: Ensure materials are properly aligned.
- Drill Hole: Drill a hole slightly larger than the rivet diameter—typically 0.003″ to 0.006″ (0.08 to 0.15 mm) clearance is recommended.
- Insert Rivet: Push the rivet body through the hole.
- Use Rivet Gun: Attach mandrel to the rivet gun and pull until the mandrel snaps off with a “pop.”
- Check Joint: Verify the rivet head is seated correctly and materials are firmly joined.
Required Tools
- Rivet Guns: Manual for light duty; pneumatic or electric for high volume or larger rivets.
- Drill Bits: Match size carefully, allowing slight clearance.
- Hole Preparation Tools: Countersink or deburr to ensure clean holes.
Common Installation Mistakes
- Using holes too tight or too large.
- Selecting rivets with incorrect length or grip range.
- Not securing materials firmly during riveting.
- Overpulling or underpulling the mandrel.
Safety Precautions
- Always wear eye protection; mandrels can snap off at high speed.
- Use gloves to protect hands from sharp edges.
- Dispose of broken mandrels safely.
- Work in well-lit, clean areas to avoid accidents.
Technical Specifications
Grip Range
Grip range means the total thickness of materials the rivet can securely join. Always choose a rivet with a grip range that covers your material thickness. Rivet packaging or manufacturer specs list minimum and maximum grip values.
Rivet Length Calculation
Correct rivet length depends on:
- Total material thickness.
- Rivet body expansion (varies by rivet style).
- Head style height (dome, countersunk, flange).
A common formula:
Rivet Length = Material Thickness + (0.5 × Rivet Diameter) + Head Height
Check manufacturer guidance for specific rivet styles to ensure proper length.
Hole Size Requirements
The hole diameter should be slightly larger than the rivet diameter to allow insertion and proper expansion, usually 0.003″ to 0.006″ clearance.
Strength Ratings
- Shear Strength: Rivet’s resistance to sliding forces.
- Tensile Strength: Resistance to pulling forces.
Pop rivets can offer shear strength close to bolts in many applications but tensile strength may be lower depending on rivet and material.
Temperature Resistance
- Aluminum rivets: Up to ~200°C (392°F).
- Steel/stainless steel rivets: Can handle higher temperatures, often over 300°C (572°F).
- Plastic/nylon rivets: Much lower temperature tolerance (typically below 100°C).
Sizing and Selection Guide
- Measure combined thickness of materials.
- Select rivet grip range covering this thickness.
- Choose hole size with slight clearance over rivet diameter.
- Consider material compatibility and environmental exposure.
- Use manufacturer load capacity charts when available.
Industry Applications
- Aircraft and Vehicles: Lightweight and durable joints.
- Marine: Corrosion-resistant rivets for saltwater exposure.
- HVAC/Ductwork: Fastening metal sheets.
- Electronics: Securing enclosures.
- Furniture & Appliances: Joining components cleanly.
- Signage: Attaching signs to frames.
Comparison with Other Fasteners
| Fastener Type | Advantages | Considerations | Cost |
| Pop Rivets | Quick, single-side installation | Tensile strength lower than bolts; need proper hole size | Low |
| Welding | Very strong, permanent | Requires skill and equipment | High |
| Bolts & Screws | Removable, strong | Needs access both sides | Medium-High |
| Adhesives | No drilling, smooth finish | Less mechanical strength | Varies |
Pop rivets excel where speed, access, and neat finish matter most.
Removal and Maintenance
- Removing Rivets: Drill the rivet head carefully to avoid material damage.
- Replacement: Replace rivets that loosen, corrode, or fail.
- Repairs: Remove old rivets, clean hole, install new rivets.
Quality and Standards
- Use rivets meeting ASTM, ISO, or other regional standards.
- Buy from reputable suppliers to avoid counterfeit rivets.
- Inspect rivets before use; check for corrosion or defects.
- Store rivets in dry conditions to prevent premature corrosion.
Troubleshooting Common Issues
- Rivet Pull-Out: Check material strength, rivet size, and grip range.
- Mandrel Breakage: Use correct tool and avoid excessive force.
- Corrosion: Choose appropriate materials for environment.
- Poor Grip: Ensure hole size and rivet length are correct.
Selection Decision Guide
- Consider environment (corrosive, wet, dry).
- Assess load and grip requirements.
- Match rivet material with materials joined to avoid corrosion.
- Choose rivet type based on surface finish needs.
Real-World Examples
- Aircraft: Aluminum dome rivets for panel assembly.
- Marine: Monel rivets for saltwater resistance.
- Electronics: Small stainless steel rivets secure metal enclosures.
- Furniture: Large flange rivets protect wood from pull-through.
Conclusion
Pop rivets are versatile and reliable fasteners. Correct selection, proper installation, and safety awareness ensure strong, durable joints. Use this guide to choose the right rivet and tools for your project.
If you have questions or want to share your experience, please comment below.
Read More:
The accessibility of your blog makes it an excellent resource for both beginners and experts.
Thank you for your feedback