Pin nails are a common type of wire nail with small, flat heads. They are widely used in carpentry and construction to fasten wood and other materials. However, pin nails often get confused with headless pins or micro pins, which are thinner, smaller, and mainly used in fine woodworking.
This guide clarifies what pin nails really are, explains their sizes and specifications, shows how to install them safely, and shares practical tips and troubleshooting advice. Whether you are a professional carpenter, DIY enthusiast, or hobbyist, understanding pin nails can help you achieve stronger, cleaner wood joints.
What Exactly Are Pin Nails?
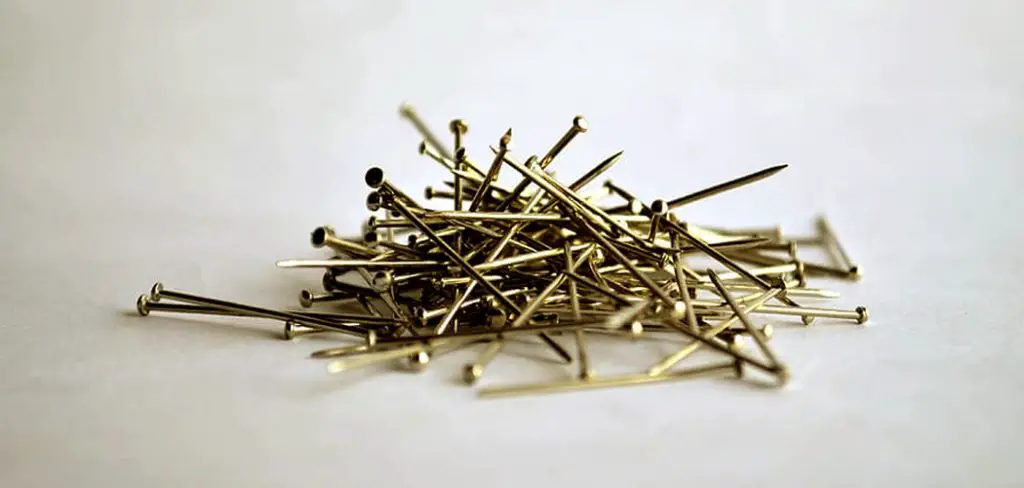
Pin nails belong to the family of wire nails. They have small but visible heads and come in a range of lengths and gauges. Unlike headless pins, which have no heads and are very thin, pin nails have a defined head that allows for easier driving and stronger holding power.
- Lengths: Pin nails typically range from 1 inch (25 mm) up to 6 inches (150 mm) or longer, depending on the application.
- Gauge (Thickness): Pin nails usually range from 16 gauge (thicker) to 20 gauge (thinner). The lower the gauge number, the thicker and stronger the nail.
Why the Confusion with Headless Pins?
Headless pins, also known as micro pins or 23- to 25-gauge pins, are extremely thin nails without heads. They are designed to leave almost no mark on delicate wood surfaces, making them ideal for fine furniture, cabinetry, and crafts. While sometimes called “pin nails” in casual conversation, they are a distinct category from traditional pin nails.
Differences Between Pin Nails, Headless Pins, and Brad Nails
To clarify the differences, here is a detailed comparison:
| Feature | Pin Nails | Headless Pins (Micro Pins) | Brad Nails |
| Head Size | Small, flat, visible | None (headless) | Small, visible |
| Length Range | 1” – 6”+ | 1/2” – 1 1/2” | 1” – 2 1/2” |
| Gauge Range | 16 – 20 | 23 – 25 | 18 – 21 |
| Typical Use | Framing, trim, flooring | Fine woodworking, crafts | Furniture, cabinetry |
| Visibility After Use | Small hole, usually filled | Nearly invisible, no holes | Small visible holes |
| Strength | Strong, suitable for structural use | Fragile, for delicate work | Moderate strength |
Key Takeaway: Pin nails offer good strength and some visibility of the nail head, making them suited for general carpentry and construction. Headless pins sacrifice strength for invisibility and are used only in delicate joinery.
Sizes and Specifications of Pin Nails
Pin nails come in a variety of sizes suitable for different jobs. Choosing the right size ensures your project holds together securely without damaging the wood.
| Length (inches) | Gauge (Thickness) | Common Applications |
|---|---|---|
| 1” – 2” | 18 – 20 | Finish carpentry, trim installation |
| 2” – 4” | 16 – 18 | General carpentry, small framing tasks |
| 4” – 6”+ | 16 | Larger framing, structural applications |
- Gauge Details:
- 16 gauge nails are thicker and stronger but may split thinner wood if not handled carefully.
- 18 to 20 gauge nails provide a balance of strength and minimal wood splitting risk.
- Lengths: Nails must penetrate far enough into the receiving piece to create a strong hold—usually 2.5 to 3 times the thickness of the thinner piece.
Correct Installation of Pin Nails
Tools You Will Need
- Nail Gun: For quick and consistent nailing, choose a finish or framing nailer compatible with the nail gauge and length you need.
- Hammer: Useful for small projects or where a nail gun is unavailable. Tap lightly to avoid bending thin nails.
- Safety Equipment: Always wear safety glasses and gloves to protect against flying debris and sharp nails.
Step-by-Step Installation Process
- Prepare Your Materials: Clean, dry, and clamp the wood pieces to avoid movement during nailing.
- Choose the Right Nail: Match nail length and gauge to the thickness and hardness of the wood.
- Position the Nail: Place the nail at least 1 inch from any wood edge to avoid splitting.
- Drive the Nail: Use a nail gun for efficiency or a hammer with light taps for control.
- Countersink When Needed: If the nail head is visible, use a nail set to sink it slightly below the surface.
- Finish the Surface: Sand, fill holes with wood filler if necessary, and apply paint or stain.
Safety Tips for Handling Pin Nails
- Eye Protection: Always wear safety glasses when using nail guns or hammering.
- Hand Protection: Gloves can prevent puncture wounds.
- Correct Nail Size: Using nails too thick or too long can split wood or cause unsafe joints.
- Proper Tool Use: Follow manufacturer instructions for nail guns and use the right nails to prevent jams or accidents.
- Secure Workpiece: Clamp or firmly hold wood to prevent slipping during nailing.
Troubleshooting Common Pin Nail Problems
| Issue | Cause | Solution |
| Bent or broken nails | Using nails too thin or hammering hard | Use thicker nails or nail gun; tap gently |
| Wood splitting | Nails driven too close to edges or too large | Keep nails 1” from edges; use smaller nails |
| Nails sticking out | Nails not fully driven | Use nail set or stronger tool to countersink |
| Rusting nails | Using mild steel nails outdoors | Use stainless steel or coated nails |
| Loose nails over time | Inadequate penetration or wood movement | Use longer nails or add adhesive |
Typical Applications of Pin Nails
Construction and Carpentry
- Framing: Pin nails secure studs and framing members in wood construction.
- Trim and Molding: Attach baseboards, crown molding, and window casings.
- Flooring: Heavier gauge pin nails (16-18 gauge) are used to fasten subfloors and hardwood flooring.
- General Carpentry: Useful for attaching small wood pieces or thin boards.
Fine Woodworking and Crafts (Headless Pins)
- Ideal for delicate furniture parts, veneers, picture frames, and small trims where nail heads should not show.
- Attach thin materials like cloth or plastic to wood without damage.
Professional Tips to Get the Best Results
- Combine pin nails with high-quality wood glue for joints that are strong and long-lasting.
- Use stainless steel nails for outdoor projects to prevent rust and corrosion.
- Practice on scrap wood before working on your project to perfect nail placement and driving technique.
- Use longer nails for hardwoods or thicker materials to ensure secure penetration.
- Always check your nail gun’s compatibility with the nail sizes and gauges you plan to use.
Summary Table: Pin Nails, Headless Pins, and Brad Nails
| Feature | Pin Nails | Headless Pins | Brad Nails |
| Head Size | Small, visible | None (headless) | Small, visible |
| Length Range | 1” – 6”+ | 1/2” – 1 1/2” | 1” – 2 1/2” |
| Gauge Range | 16 – 20 | 23 – 25 | 18 – 21 |
| Typical Uses | Framing, trim, flooring | Fine woodworking, crafts | Furniture, cabinetry |
| Visibility After Use | Small hole, can be filled | Nearly invisible | Small visible hole |
| Strength | Strong | Fragile | Moderate strength |
Conclusion
Pin nails are versatile, small-headed nails widely used in construction and carpentry. They provide a reliable hold for framing, trim, and flooring. It is important to distinguish traditional pin nails from headless pins, which serve fine woodworking needs. Correct nail selection, safe installation, and following the right penetration depth guarantee strong joints and clean finishes. With this knowledge, you can confidently choose and use pin nails for your woodworking projects.
Feel free to share your questions or experiences in the comments below. Your input helps the woodworking community grow stronger!
You may read also: