Missing or broken shelf pegs can stop a shelf from working properly. You can fix this problem by using other items to support the shelf. This guide gives 9 clear and practical options. Each option includes setup steps, weight limits, and usage tips.
Key Points Before Choosing an Alternative
1. Weight Capacity
The support must hold the full weight of the items on the shelf. Factors that affect weight limits include:
- Dowel diameter and wood type
- Bracket size and mounting method
- Number of supports used
- Distance between supports
- Shelf material, thickness, and length
Note: A hardwood dowel (1/4 inch) may hold 10–20 lbs if used correctly. A small metal bracket may hold 50–100 lbs when fixed into wall studs.
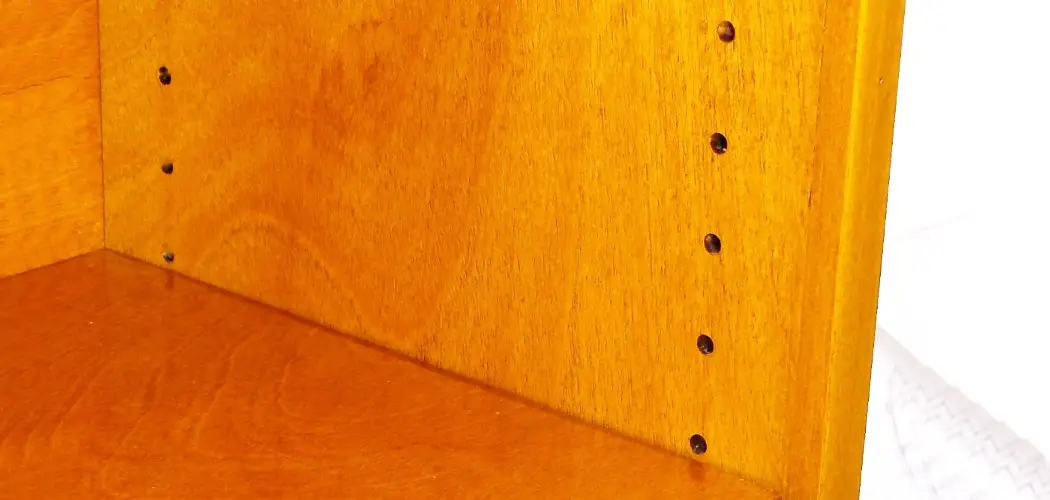
2. Hole Size
Common peg hole sizes:
- 5mm (0.197″)
- 6mm (0.236″)
- 1/4″ (6.35mm)
Note: 6mm and 1/4″ are not the same. A loose fit can cause the shelf to fall or tilt.
3. Shelf Material Compatibility
- Particle board: Weak hold; avoid using high-pressure or oversized supports.
- Plywood: Medium hold; works with dowels, screws, and small brackets.
- Solid wood: Strongest hold; suitable for all support types.
- Metal or glass: Use magnets or clips designed for smooth surfaces.
Shelf Peg Alternatives
1. Metal L-Brackets
Use for: Heavy items, long shelves, and wall-mounted installations
Load capacity: 50–150 lbs (varies by size and wall strength)
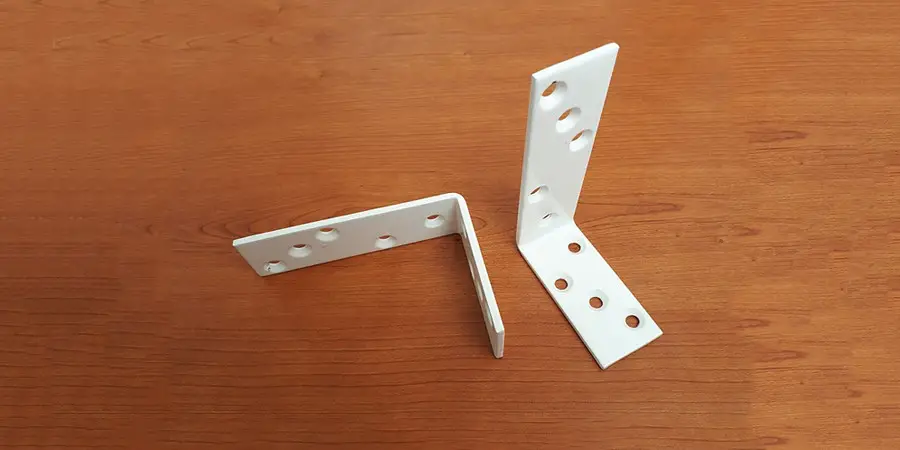
Install steps:
- Mark bracket holes on the wall or cabinet.
- Drill into wall studs or strong support panels.
- Attach bracket with screws.
- Place shelf on top of bracket arms.
Tip: Use at least two brackets for small shelves. Use three or more for longer shelves.
2. Wooden Dowels
Use for: Replacing lost or broken shelf pegs
Load capacity: 10–20 lbs per dowel (hardwood, 1/4″)
Install steps:
- Cut the dowel to 1–1.5 inches.
- Match the dowel diameter with the shelf hole.
- Insert the dowel tightly into each hole.
- Place the shelf carefully on top.
Tip: Avoid glue if you want to remove or move the shelf later.
Check it out: Dowel Pin: Complete Guide
3. Adjustable Shelf Pins
Use for: Cabinets with adjustable shelf positions
Types: Metal, plastic, rubber-coated
Load capacity: Metal (up to 30 lbs), plastic (10–15 lbs)
Tip: Match the pin size exactly to the hole size. Do not force pins into tight holes.
4. Shelf Clips or Cleats
Use for: Fixed shelves inside cabinets or closets
Load capacity: 30–100 lbs depending on hardware type
Install steps:
- Mark position inside cabinet.
- Attach clips or cleats using screws.
- Set shelf evenly across all supports.
Tip: Use long cleats for better weight support on wide shelves.
5. Wire Shelf Support Pins
Use for: Metal wire shelf systems (like pantry shelves)
Load capacity: 40–50 lbs per shelf
Install steps:
- Insert wire support pins into vertical slots.
- Place shelf frame on top of pins.
Note: Only works with matching wire shelf systems.
6. Magnetic Supports
Use for: Metal cabinets or shelving units
Load capacity: 5–50 lbs per magnet, based on magnet type
Install steps:
- Attach magnets to clean, flat metal surface.
- Place metal shelf directly on magnets.
Tip: Use rare-earth magnets (neodymium) for stronger grip. Avoid ceramic magnets for heavy items.
7. Wooden Blocks or Shims
Use for: Temporary shelf support
Load capacity: Light to medium, depending on block size and fit
Install steps:
- Cut blocks to fit between shelf and base.
- Insert blocks under the shelf.
- Add glue for a more stable fit, if needed.
Tip: Works best on narrow shelves or when aesthetics are not important.
8. 3D Printed Pegs
Use for: Custom replacement parts
Material: PLA (light loads), PETG or ABS (stronger loads)
Print tips:
- Use 50–70% infill for strong parts
- Print flat for better strength across layers
- Sand edges for a precise fit
Load capacity: 10–30 lbs based on print quality and material
9. Screw in Hole (Not Recommended)
Reason to avoid:
- Screws can damage the shelf
- Poor support may cause the shelf to fall
- Threads may loosen over time
Tools You May Need
- Drill with 5mm, 6mm, or 1/4″ bits
- Manual screwdriver or electric driver
- Measuring tape or ruler
- Screws, wall anchors, bolts
- Wooden dowels, brackets, pins
- Sandpaper or rotary tool
- Level and caliper
Safety Tips
- Use a level before loading the shelf.
- Add extra support for shelves longer than 36 inches.
- Place heavy items near the side walls.
- Do not exceed support weight limits.
- Check all pegs and brackets every few months.
Fixing Damaged Holes
Loose holes:
- Wrap dowel ends with tape to improve fit.
- Use plastic inserts if available.
Stripped holes:
- Fill hole with wood filler.
- Let dry for 24 hours.
- Drill a new pilot hole slightly above or below the original.
When to Get Help
- Walls are made of drywall, plaster, or masonry
- Shelf will hold over 100 lbs
- You need a precise or permanent installation
Final Words
Shelf peg alternatives work well when installed correctly. Choose the option that fits your shelf size, material, and weight needs. Always test before full use. Measure holes carefully, use strong materials, and follow proper steps.